Showing posts with label floor lamp. Show all posts

Monday, August 26, 2013

Chicken Wire Lamp Shade Tutorial

The vintage repurposed floor lamp from yesterday's post was the main "job" to do.  You know how it is when you buy a must have lamp with no shade and then finding the right one can be grueling.  The cost of a lamp shade is ridiculously high.

I had to turn my creative juices on to flow.  Ah-ha I will make it out of chicken wire, muslin, and chenille bedspread fringe.  My first try was a flop with the chicken wire.  Good ol' Mom who has been there and done that for more years than I can count came to the rescue.  When we work as a team I get the inspiration and ideas and it's up to her to figure how we will do it!  lol  Poor Mom.

Are you ready for this?  Let's go!

1)  Getting the chicken wire a nice round.  I used the lid to my charcoal grill as a pattern and used a marker to trace around the lid.  Please note I have never made one of these or seen one made so I was winging it as I went along.  Wear gloves and long sleeves or you get all poked up like I did.


2)  Once it is traced then it is time to use the tin snips, wire cutter to snip the wire along the marker.  Tricky but doable.  This was 24" round.  At this time use pliers to fold all of the sharp ends in or snip them off.  This will make arranging the fabric much easier.


3)  Fold the circle cut chicken wire in half as evenly as possible.


4)  Fold into half again.


5)  One last time fold in half again and run your hands down the ends or seams to almost make it flat.  I stepped on it to make sure it was as flat as I could get it.


6)  I opened the fold now to see if the process was working.  Remember this was a trial and error process.  So far so good.  Once opened you see how it is taking the shape of a lampshade.  Please note that you can work the shape as you go once you get the fabric draped over it.


NO matter how I tried I could not get this picture turned correctly.  So sorry but it still shows how it should be.

7)  My choice of fabric is always muslin as I love, love really like it.....ok for real I love it!  In the basement was a hobnail chenille bedspread that long ago I wore out having it on my bed and washing it so much it got thin.  sniff sniff  I hated to retire it.  It has been out of retirement from time to time for projects.  Oh, back to the fabric for the lamp shade.  I thought the fringe from the chenille bedspread would be so completely awesome, utterly over the top and make the muslin come to life.  So I had to grunge my muslin and fringe.  I used a mixture of coffee, cinnamon, allspice, and at the end a touch of my natural walnut stain.  They soaked for about three minutes.  Time to wring out the material and get to dry.


This is the total amount used for all of the wrung muslin.  Pick a spot pour a small dab, rub with the bottom of your spoon.


8) Removing the fringe which should have been done before grunging but.....to take off the fringe you will need a widget, razor blade, carpet knife.  On the wrong side snip a few threads loose then pull and it all comes off.

9) Cut your muslin or fabric using the same object you used to shape your chicken wire.  This time I used a pencil to trace.  I ironed the muslin slightly to make sure it was the right size.  Pictures are not ironed.


10)  Attach the fringe to the outside of the muslin.  Mom did this as I haven't found a needle and thread yet that fit my fingers.....anyway.  She did this by hand but you could sew it on.  See how it is ever so slightly ironed?


I found an old light pull and placed in on but want to find something else later to top it off.


11)  Work the chicken wire to shape until you are satifsfied with the look.  Take your fist to round it out.  The ambiance is so warm and cozy.

Taa-daa!  There you have it a Chicken Wire Lamp Shade by Nancy Davis with My Eclectic Loft!

Materials Needed

  • chicken wire
  • tin snips, wire cutters
  • pliers
  • black marker
  • pencil
  • fabric sized as needed 
  • fringe if wanted
  • grunge solution

I have been asked many times about my home made walnut stain.  Gather the walnut hulls (the green part) add to water and let soak for about a week or more.  This is very strong on fabric and you just need a very small dab, size of a dime or smaller.


post signature

Sunday, August 25, 2013

Repurposed Vintage Floor Lamp Chicken Wire Lampshade

My new addiction of repurposing furniture pieces has come to an end for now.  I think I have done all that I wanted to do before I had shoulder surgery on September 12.  There has been hinting that the inside of the house needs my attention.  Really?

The first piece I want to share is a vintage floor lamp with a chicken wire lampshade.  A picture is worth a 1000 words.  Enjoy!


Starting this process was not so easy as a matter a face the whole project through me curve balls.  Being a novice I improvised as best as I could.


The paint in no way was going to come off this floor lamp.  I used several paint removers to no avail.  They did take me to a pink shade that was so deep into the wood it wasn't budging.  I didn't want to use my lye solution for fear of losing the detail on the lamp.


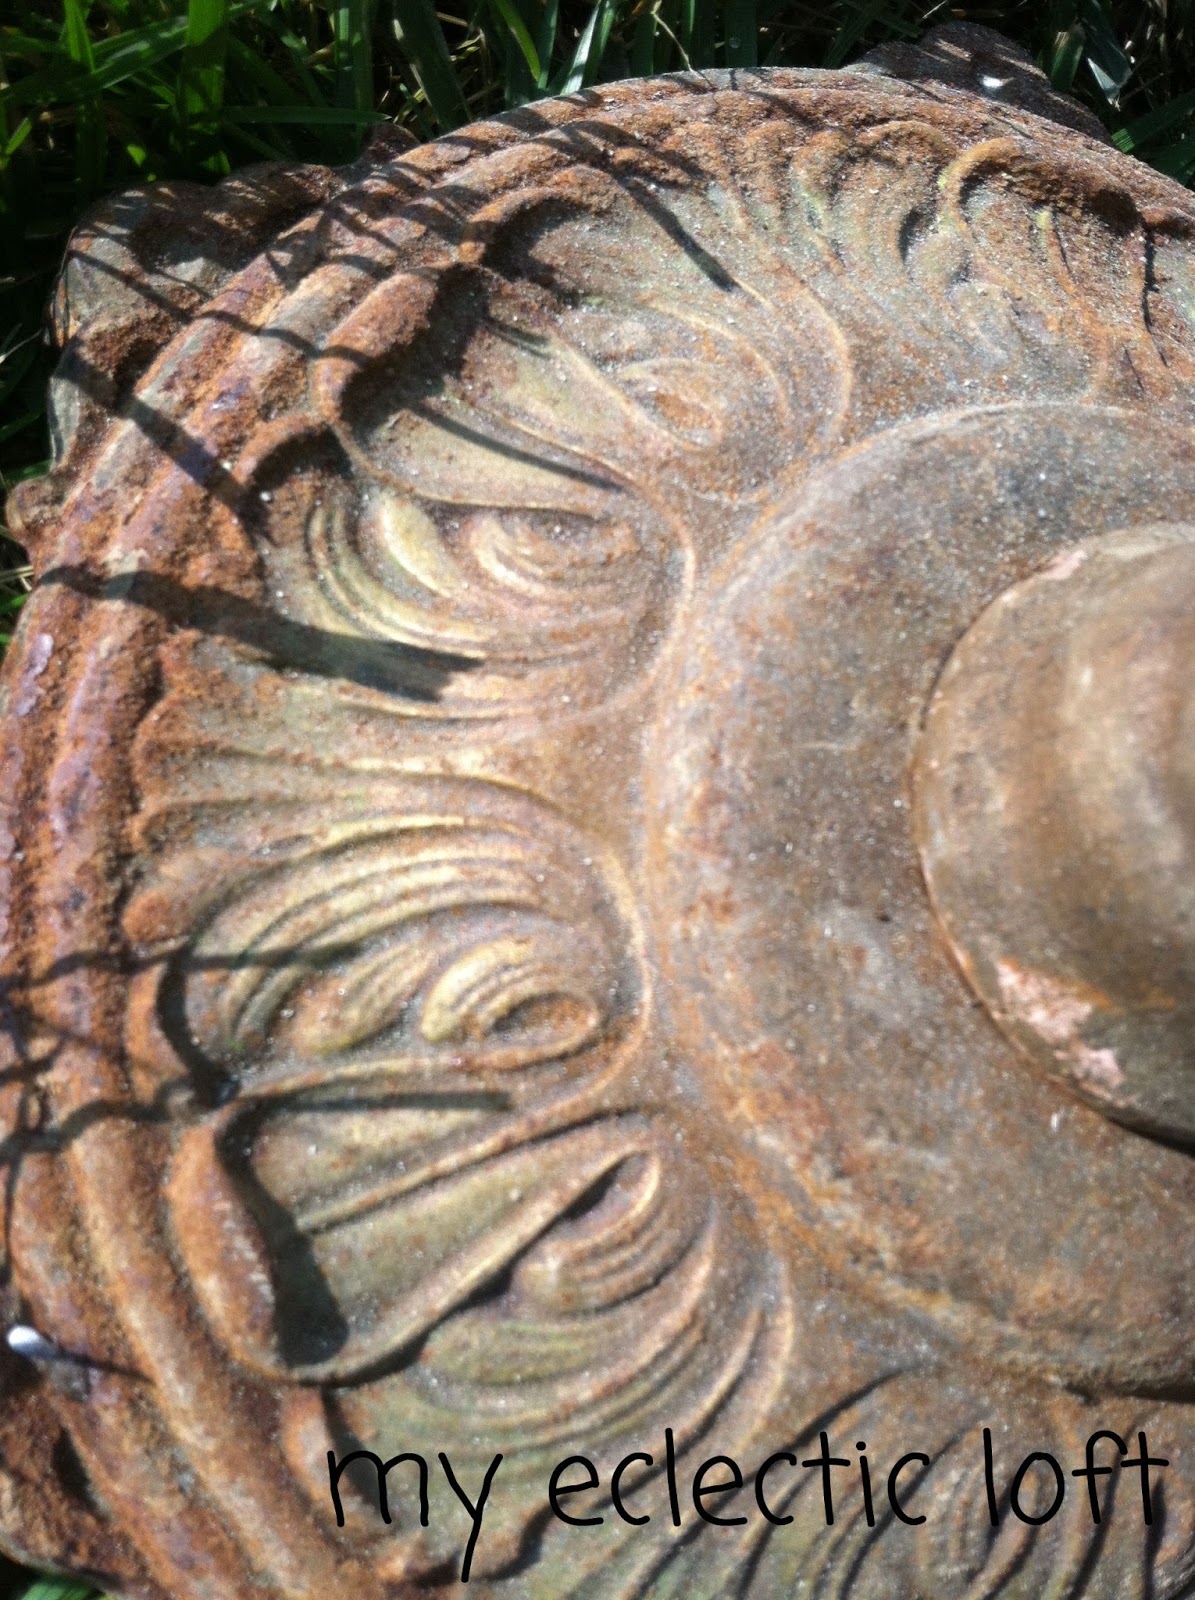
The finial, top cap and base were soaked in vinegar and baking soda as recommended by Hometalk people that responded to my question on getting rid of rust (not all of it but some.)


Absolutely my favorite feature is the double light with pull chains.  In love.....ahhhhh!


I didn't want all the rust gone but the rough rust.


I think this is the appropriate spot to explain all of the oops that led me to a different look and then oops here we go again.
Since I couldn't get the paint off I thought that I would just paint it all with black enamel paint so I would have a dark base to work with.
Oops #2 the black paint would not adhere and separated in little circles everywhere.  Solution #2 rubb black paint off.  The look was awesome and I should have stopped there but not me I went on.
Two coats of off white, creamy looking homemade chalk paint went on.  Fun time to sand!
Oops #3 as I sanded only the pink was showing up.  Solution #3 cover it with dark stain.  It gave me a darker pink but it was better than the pink that it was.


Here is the lamp!


The base looks much better with rust still on it but not built up on it.


The intricate design after many oops finally made it and I like it after all.  

More about the chicken wire lampshade on tomorrow's post.  Don't miss the adventure.


post signature

Sunday, August 4, 2013

New Flea Market Vintage Finds, Treasures, Junk

The first of the month brings our local Flea Market to town.  Always excited to get there.  Got up early to get things done I needed to do....priority.....I jumped into the car and was off.

Lots of smaller things were in my bag this time.  It was all good.  I had done very well this time getting better prices.  My fear was gone.  Pointing out what was wrong as I learned from The American Pickers to get a lower price.  So proud of myself.  My bag was full a couple of times as I had to go to the car to empty the new treasures so I could get some more.

Finally it was time to leave.  I noticed a sign that said, "Really low prices on all kinds of stuff.  Come to the Grange building."  Energized from the luck of the morning I was headed to the Grange Building.  On my way I remembered I had forgotten to stop at this one place at the Flea Market that was outside.  My car didn't even hesitate in pulling into a spot to drool over more "junk" as in "treasures."

There before my eyes was a floor lamp that was just screaming my name.  It was vintage, the style I had been looking for and in all of its beauty there it was before my eyes.  Ahhhhh, now the price.  Once the gentleman told me the price my hopes dropped as there was no way I could pay what he wanted.  So just like Frankie from American Pickers I set aside the items that I wanted and had a bundle.  Right at that moment I got my price plus the man gave me a small cupboard (that I do not need BUT it was FREE).  AND he told me he had a barn full of "junk" and that I was welcomed to come to pick it.  Oh was I riding cloud nine now, you betcha I was!

He loaded my finds and as I got into the car I couldn't wait to show Mike and Mom my treasure hunting finds for the day.

I haven't taken pics of the smaller treasures yet but I snapped a few of the items to share with you today.


Tomorrow I will have pics of the smaller items.


post signature